I tried a new bear pattern that was suggested at our Bears for Kids group at Ravelry. This little pocket bear calls for a small crochet hook but I find using a small hook to be very hard on my hands. So I used a little bigger E (3.5mm) crochet hook.
I also tried a new way of making eyes when I crocheted this bear. For the eyes, I chained 3 and joined with black yarn to form a ring. Then I did several slip stitches into the ring, leaving long tails to secure to the inside of the head before stuffing. I like this method. It makes for small raised ball eyes. I then placed the eyes on the bear face and used the tails to secure the eyes in place from the inside of the head. I tied several knots and wove in the ends on the inside of the bear’s head. I really like how the eyes came out and want to try this method again in the future on other bears.
Here is a closer picture of the eyes on the bear.
I crocheted these two teddy bears for cancer awareness in our Ravelry bear group. First is a pink teddy bear for breast cancer awareness. I was running short of the rose pink yarn so had to add some sparkly pink leftover yarn I had for the shirt of the bear.
Both of these bears are crocheted using the In The Round Teddy Bear pattern from my site. The pattern is free and crochets up quite quickly.
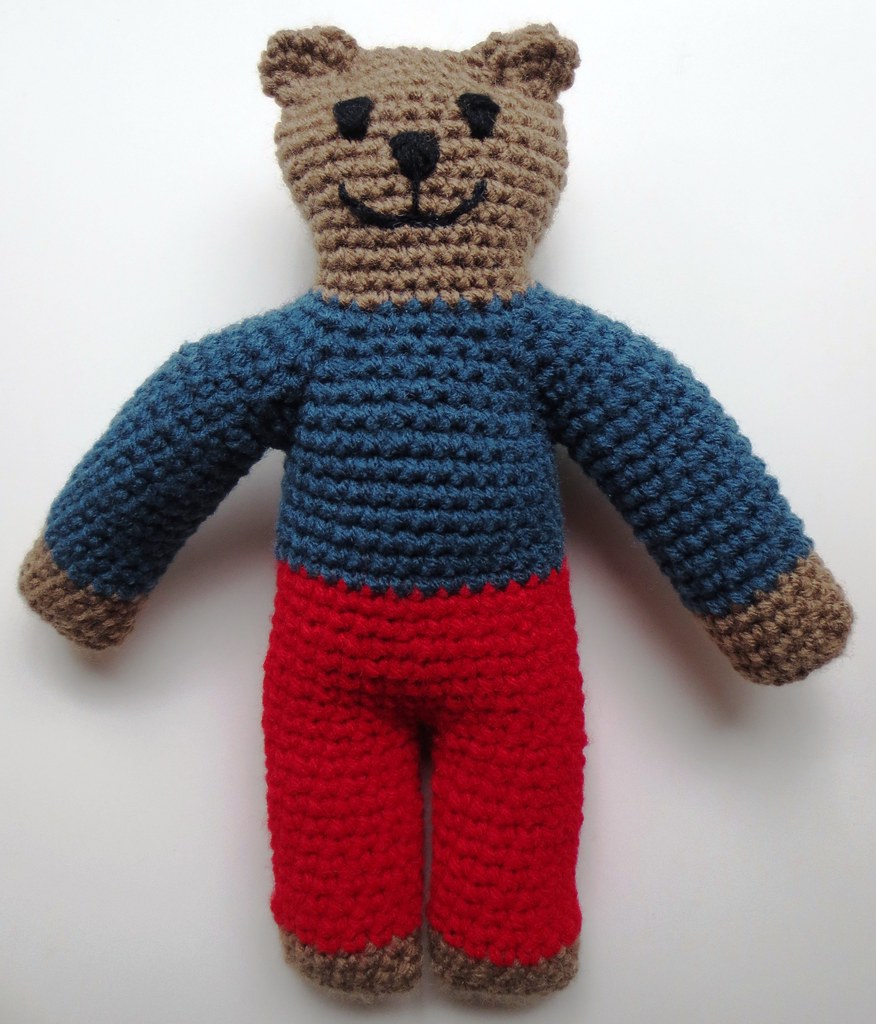
Next up is a light blue teddy bear honoring those who have faced prostate cancer.
This is a new teddy bear pattern that I have been working on. I wanted to create a pattern that was crocheted all in the round that was simple and quick with less seams and fewer joins. After several test bears and tweaks to the crochet pattern, I present In the Round Teddy Bear!
Please enjoy the free crochet pattern and a big thanks to TeaLover (Jan) from Ravelry who was so kind and patient with me as I developed this pattern. She was extremely helpful with her knowledge and crochet skills helping me perfect this pattern. It is our hope that this pattern will comfort and bless each child who receives a bear made from the pattern.
In the Round Teddy Bear pattern
8.5 inch tall bear with Red Heart Super Saver (RHSS) yarn
G (4 mm) hook
Pattern uses less than 2 ounces of total yarn (RHSS = 1.7 ozs) and is written in US crochet terms.
Legs:
Rnd 1: Chain 8, turn and SC down chain, work 2 SC in end, SC around the corner working on the other side of the chain, work 2 SC in the last stitch. (16 SC sts)
Do not join. This pattern is worked in the round without chaining, joining or turning unless otherwise directed. Place a stitch marker to mark beginning of round if desired.
Rnd 2-10: SC in each stitch. (16 SC) Leave a tail to join legs at crotch. Make 2 legs, on the 2nd leg don’t FO yarn.
Position the two legs next to each other, so that the yarn tail of the first leg is between the two legs and the working yarn of the 2nd leg is to the side.
Use the tail of the first leg to join the 2 legs together at front center at crotch. Use a yarn needle to stitch 2-3 joining stitches of the two legs together at center. Don’t stitch too tightly, as you need to work into these on the next round. (see photo below)
Here is a cute new teddy bear pattern I crocheted. It’s a free pattern at Blumenbunt blogspot. The pattern is available in English and German. Here is the direct link for the English version of the Easy-Peasy Teddy Bear pattern.
Here is the first one-piece bear I crocheted using the pattern as written.
I found my edges difficult to keep straight but you really can’t tell once it is stitched together and turned inside out. So next I crocheted the pattern a second time but in two pieces. I didn’t leave the arms connected on this one as shown in the photo below.
Here is the final product of the 2 piece teddy bear.
I had the opportunity to participate this year in Operation Christmas Child. Shoeboxes are filled with toys, school supplies, and personal care items for children for Christmas. The boxes are sent all around the world to many different places to bless the children and share the gospel.
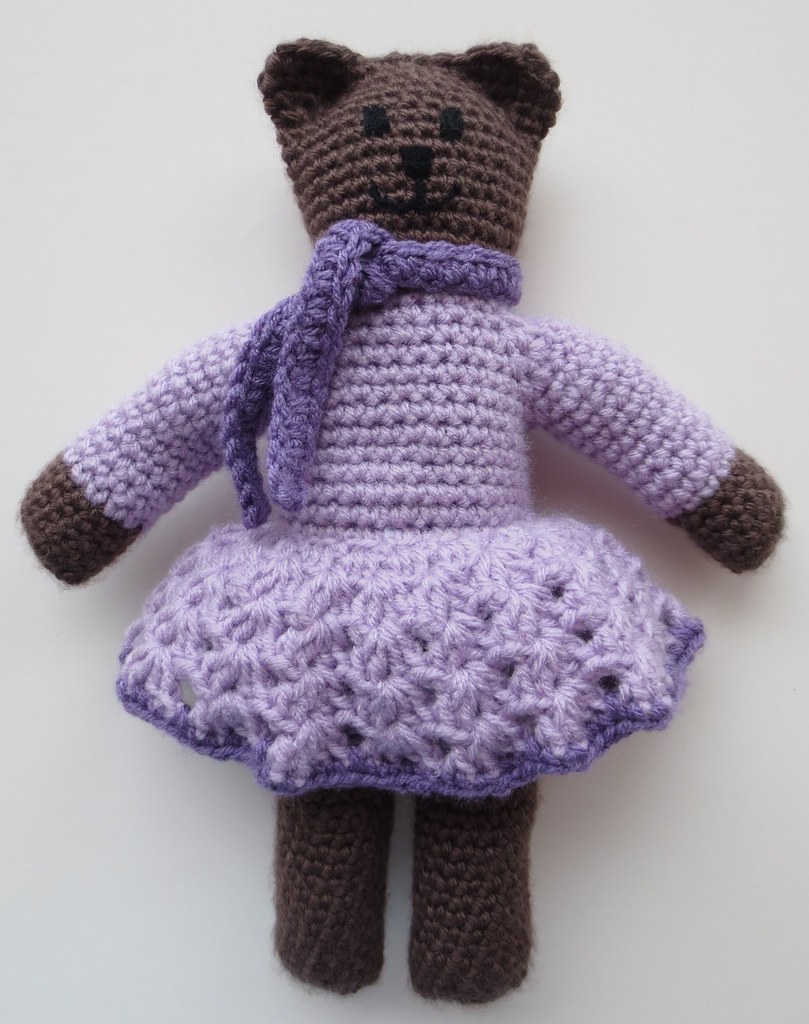
Our women’s bible study got together and filled 53 boxes this year. Many of us made handmade gifts as well as store-bought goodies to fill the boxes. I crocheted two teddy bear dolls. Here is my girly bear with a skirt that I crocheted. The skirt crochet pattern for this doll is found here.
Next photo is of my bare bear doll. These bare or PJ bears are fun and quick to crochet.They make some cute teddy bear dolls for children.
This is post to help those using the seamless crochet pattern for the Mother Bear Project. I purchased the seamless crochet pattern from the MBP site. After participating in a CAL for the bears, several of us found some valuable tips to help in crocheting the seamless bears. I want to share with you all the helpful ideas and pattern tips that we want to pass along.
I love to crochet in the round without having to turn or join. So after getting the seamless crochet bear pattern, I set out to figure out a way to do just that.
Go to the official Mother Bear Site by clicking on the logo below.
So as I have stated, I wanted to crochet my bear in the round without joining or working chain 1s for each row. Here is a leg piece to show the outcome. This particular leg has just 4 rows in the bear body color and then 11 rows for the pants up to the point where you join the legs together to work the rest of the pants. This varies from the original pattern but depending on your yarn, design, and other factors, crochet as needed to obtain the size and design you desire.
Here is a leg piece to share, I end at the side of the leg and simply join a new color with a SC (single crochet) stitch and work in the round.
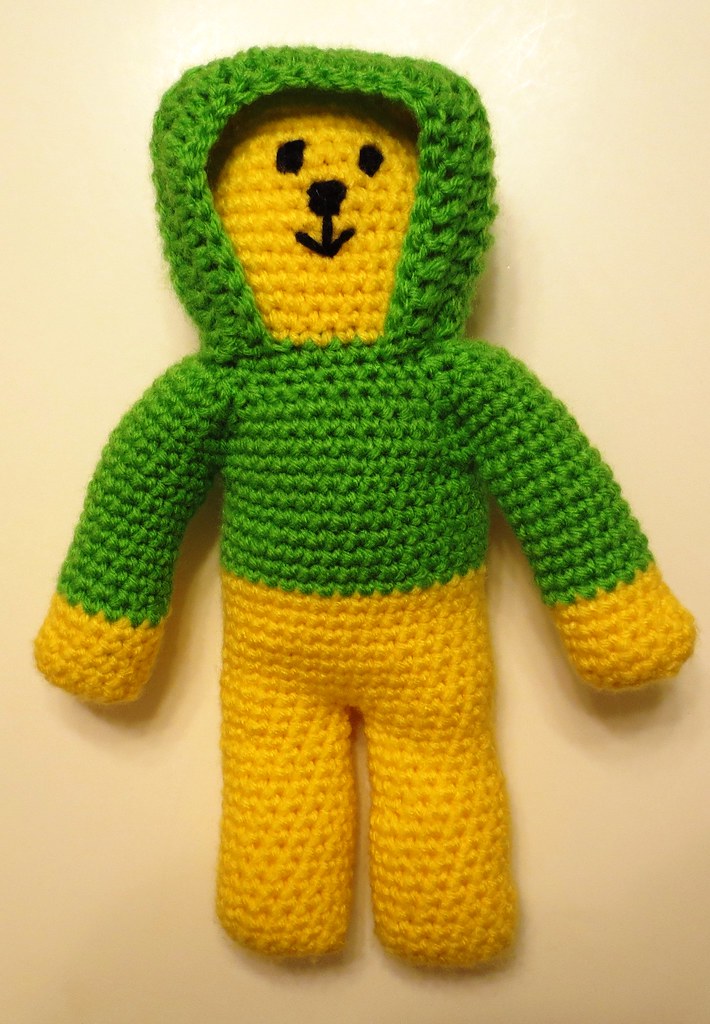
If you read my last post, you know that I have been busy crocheting Mother Bears for the organization that sends teddy bears to children in foreign countries. I crocheted a Mother Bear hoodie on one teddy bear and then crocheted this girl bear with a skirt and bloomers.
This bear and her clothing were crocheted using medium weight acrylic yarn. The basic bear was crocheted using the seamless crochet bear pattern found at the Mother Bear Project site. My pattern details are a guideline for adding the skirt and bloomers but make sure you check your fit on your bear as you crochet.
I crocheted the skirt with a G (4 mm) crochet hook. Attach at back of waist on bear and follow pattern directions below. I crocheted the skirt working from the waist down and crocheted with the bear upside down as I added the skirt.
Mother Bear Skirt Pattern
Row 1
Attach yarn and single crochet (Sc) in each stitch around at waistline.
I am crocheting teddy bears for the Mother Bear Project and have some extra clothing ideas to share. I sent for the crocheted seamless bear pattern and found the pattern very easy to follow with lots of opportunities to make variations on the bear’s clothing. A group over at Ravelry is having a KAL/CAL for the Mother Bears and there are some amazing ideas being shared over there if you’d like to check it out. Here is the link to the group.
After seeing another crafter make an adorable hoodie, I knew I just had to make a bear with a hoodie too. If you knit there are instructions for the Bears in the Hood found here but I only crochet so I had to improvise and create a hoodie for my bear.
So after a little trial and error here are the pattern details for a crocheted Mother Bear hoodie.


Recent Comments