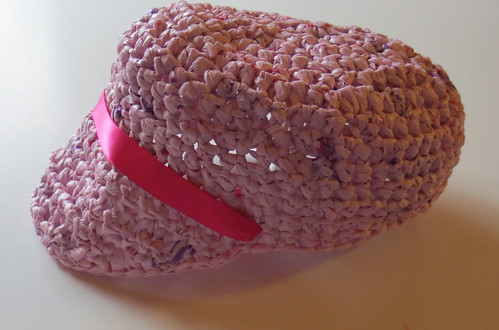
It’s been 5 years since I first crocheted a baseball type cap from recycled plastic bags. Recently someone asked me to clarify some of the pattern details so I thought it might be a good idea to re-work the pattern.
If you read my blog last month, you might remember me blogging about these pretty pink plastic bags that an on-line friend sent me. Well I used them to create pink plarn and crocheted this recycled baseball cap using about 20 plastic bags.
The pattern worked up a little different with this crochet project but generally the hat came out looking about the same. I did have to decrease a bit to get the hat tighter on my head and add another row to the brim portion of the hat. Here is the original crocheted recycled plastic baseball pattern with the changes noted in the post.
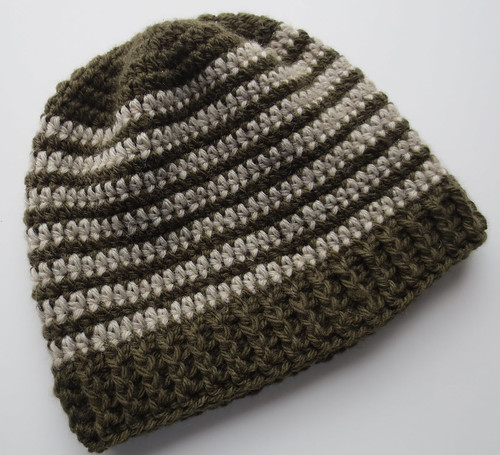
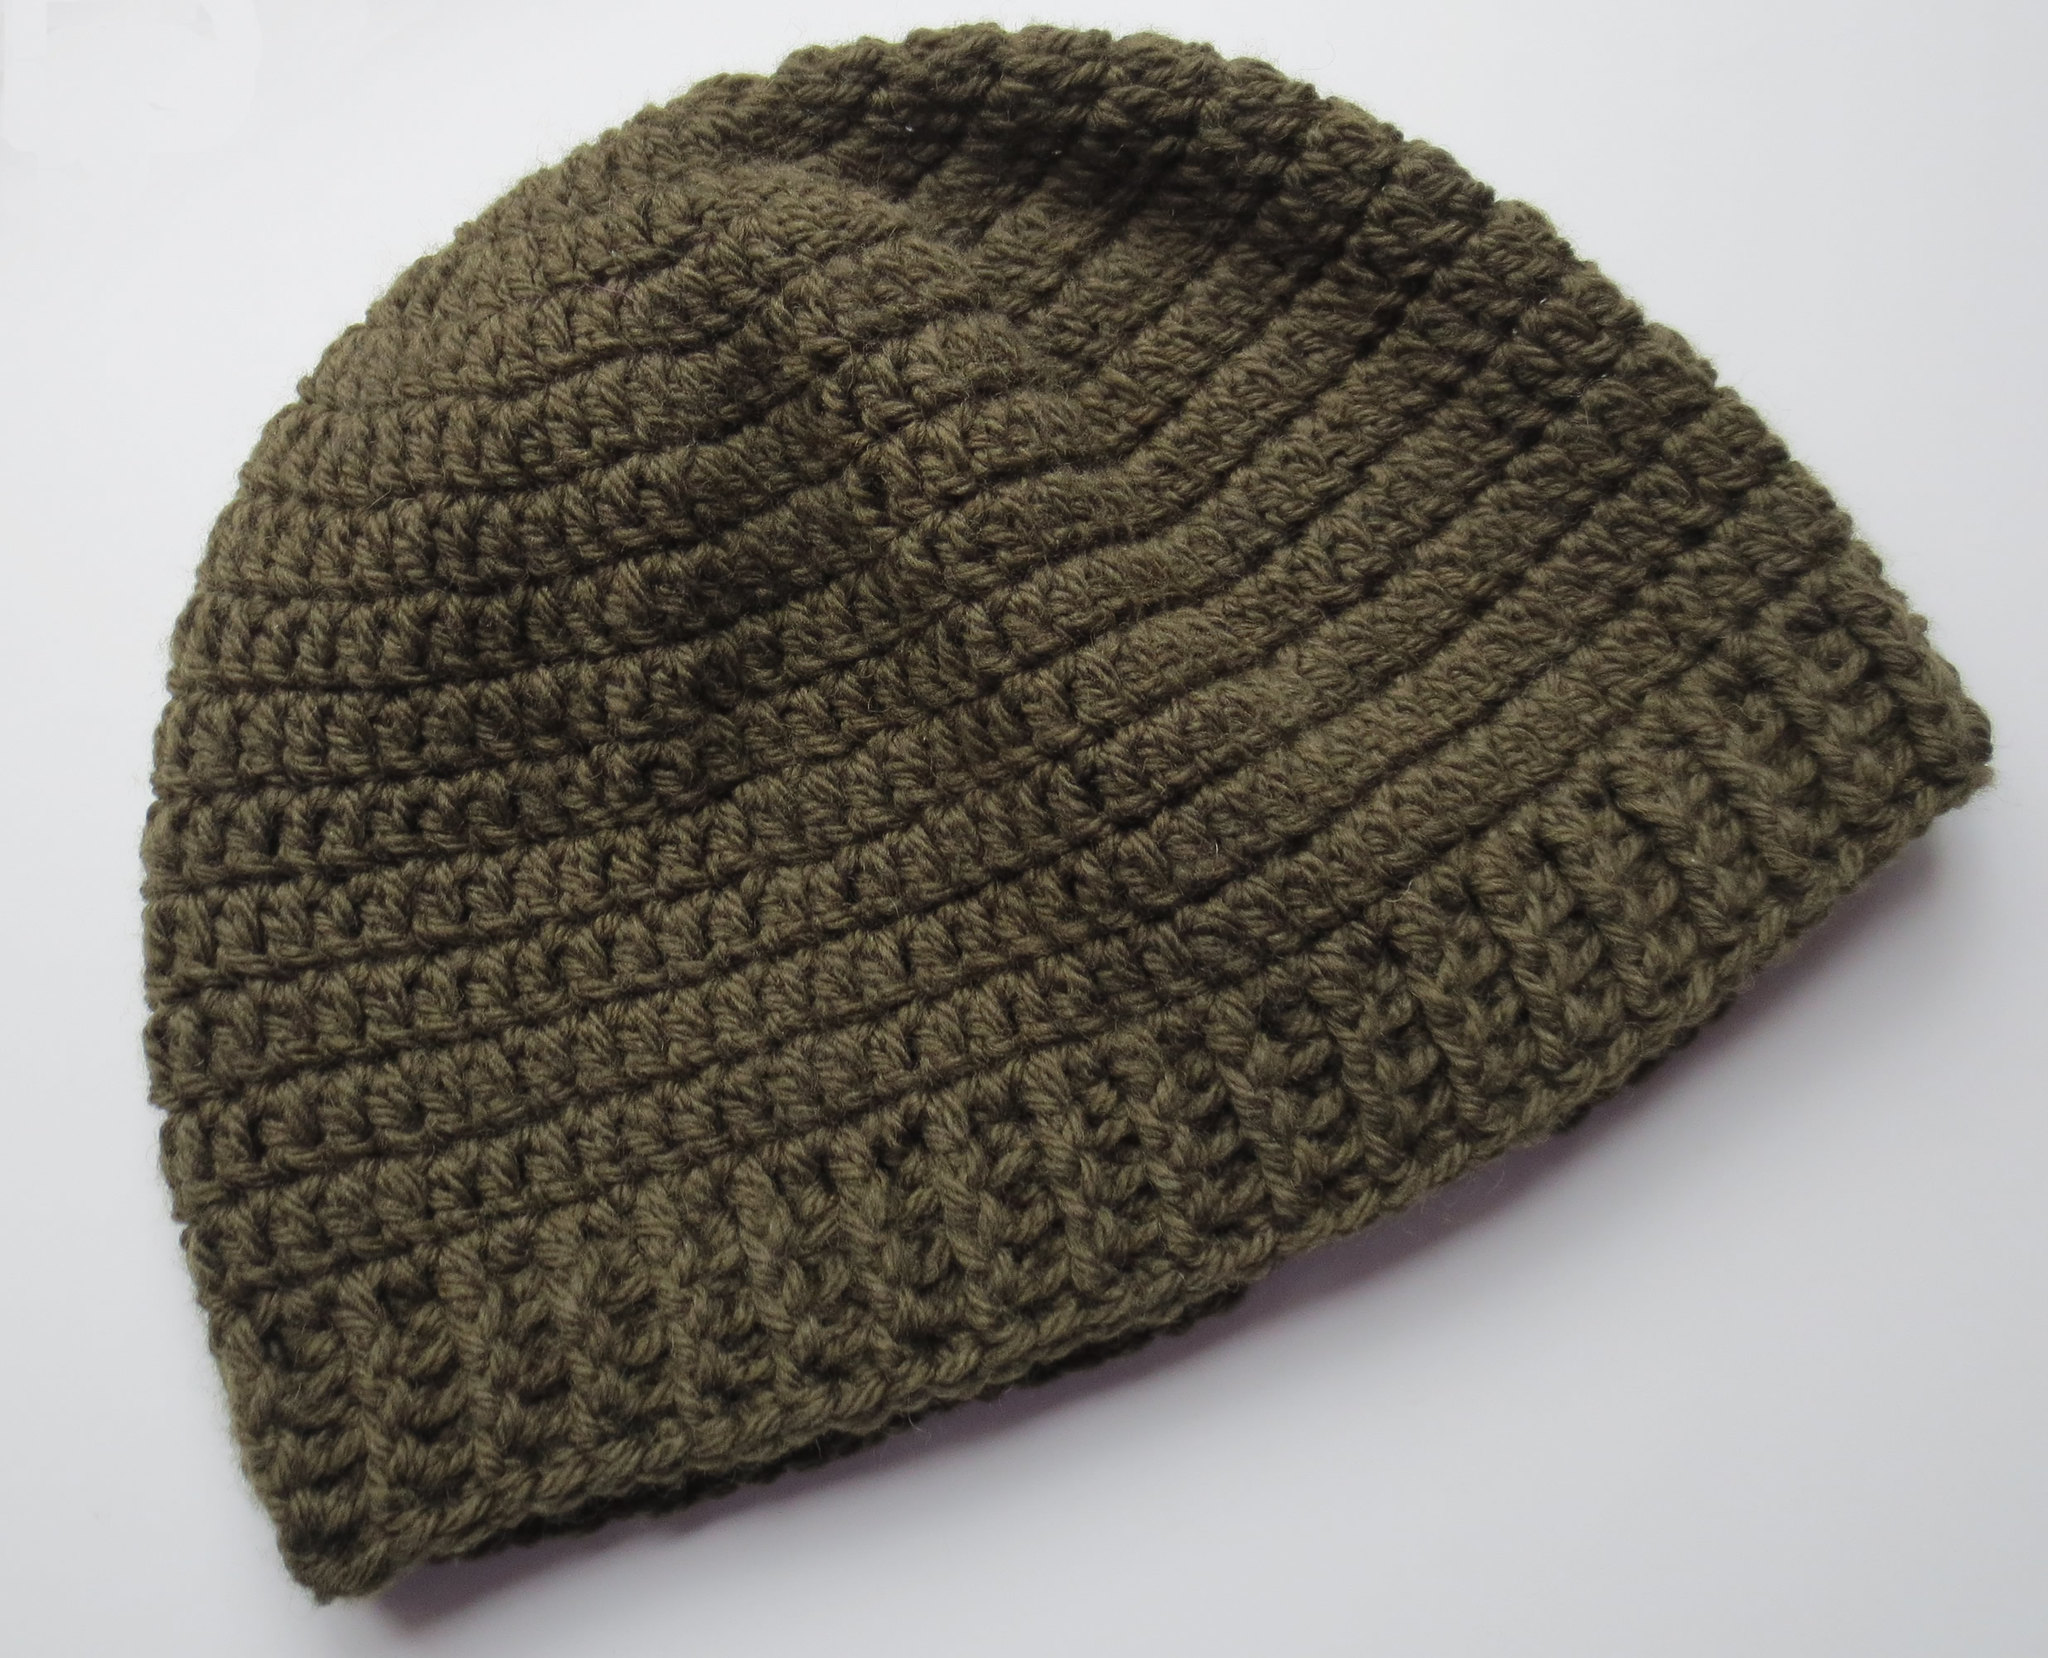
I’ve been busy lately crocheting more hats for the Warmth for Warriors group. One of my on-line group friends crocheted a cute hat using a ribbed stitch style that I really liked. After some help from Ellen, I finally got the pattern created. Below is the written crochet hat pattern that I created featuring the ribbed band that was inspired by Ellen from our Ravelry group.
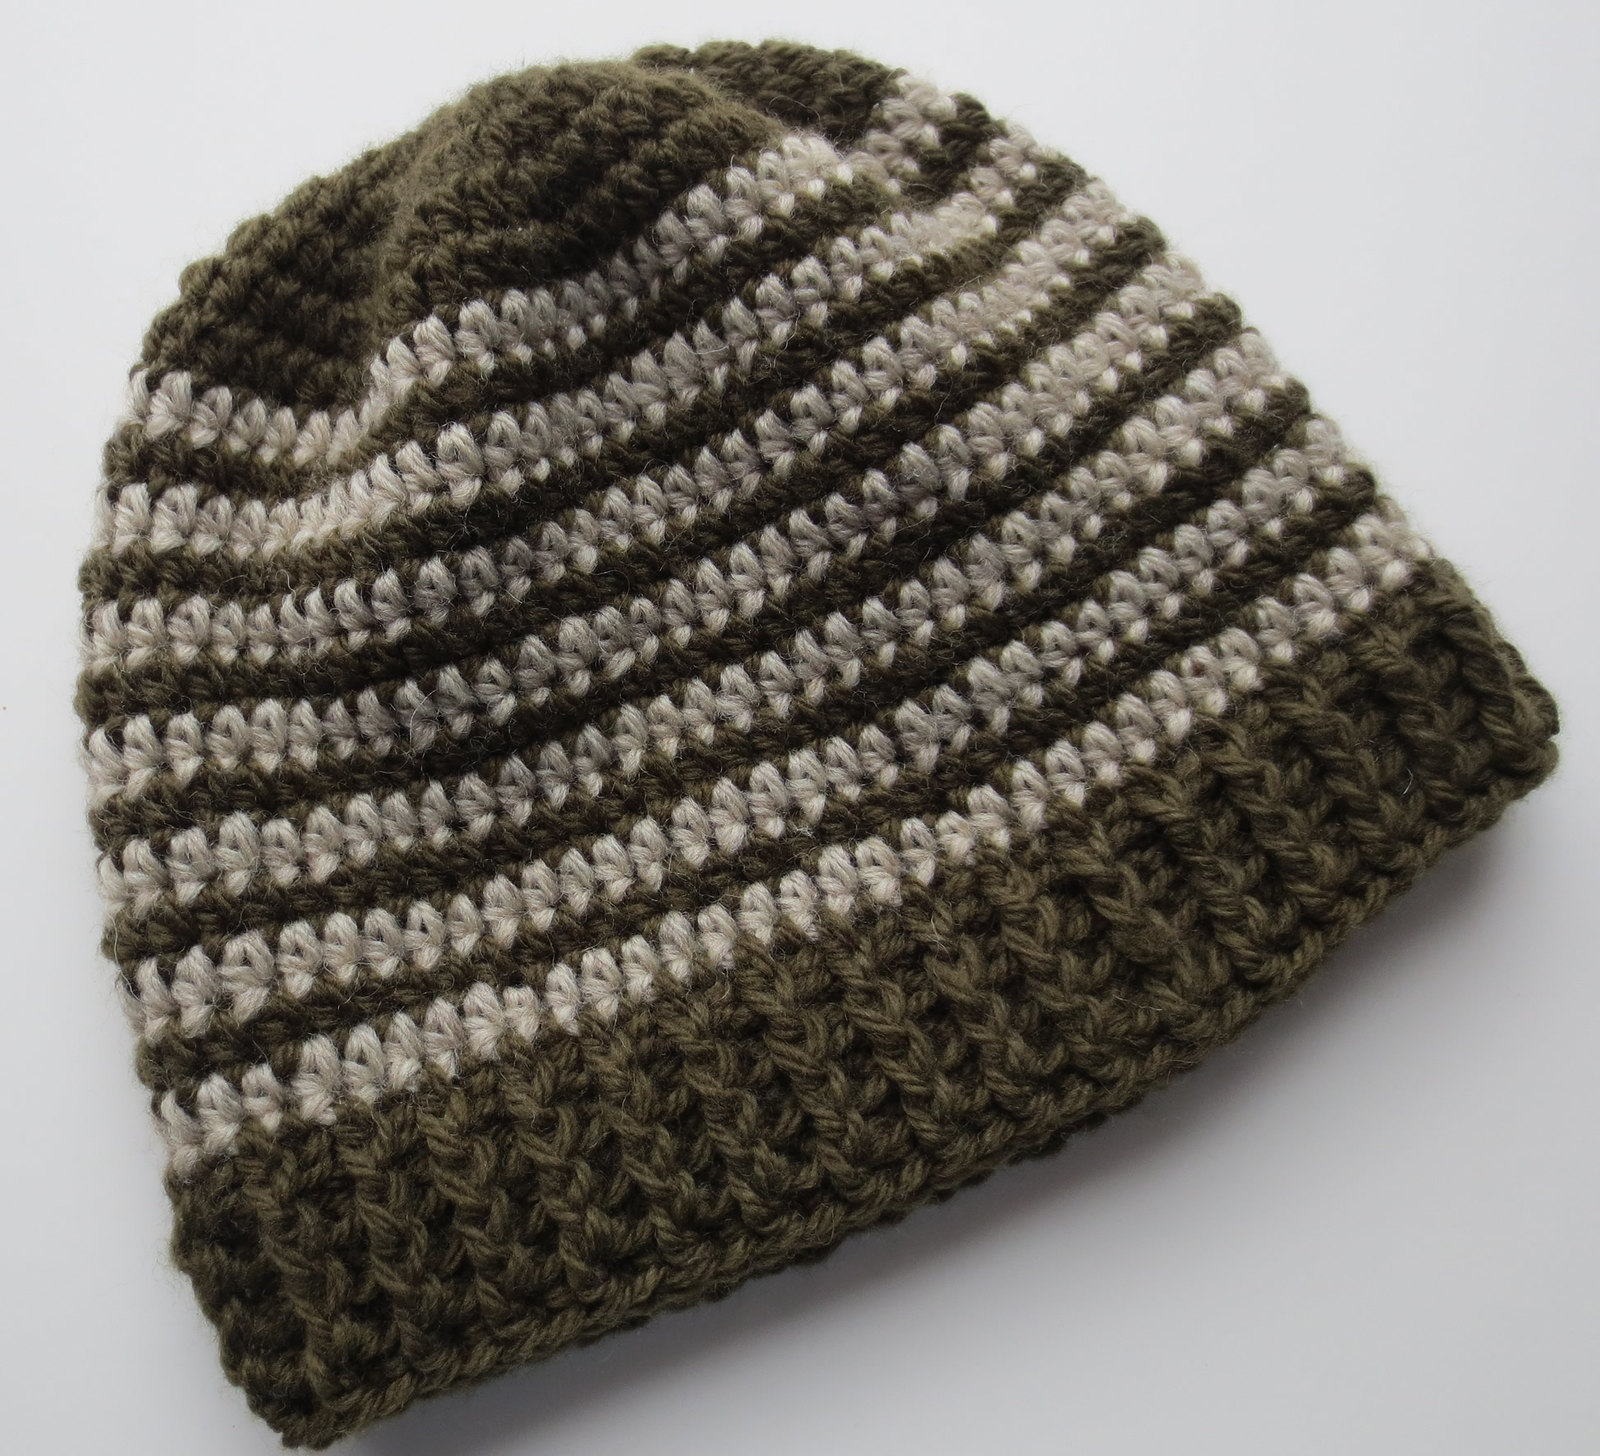
The two-toned wool hat is my favorite using the crochet pattern so far. I used the pattern below and at round 7 switched from the olive green to the oatmeal colored wool yarn. Then you alternate every other round in the two colors ending at round 20 with the olive green yarn. I carried the yarn not in use behind by just dropping it at my joining slip stitch. When you come back around you just pick up the dropped color at the slip stitch.
At row 21, I began the ribbing with the olive green wool. Make sure you use the same color in round 20 that you use for the ribbing so the first round of ribbing matches that you are working the front and back posts around.
Here is another version of the ribbed hat and in an extra large size. This one is crocheted all in one color and was designed more as a helmet cap to fit under a soldier’s helmet. I started with 16 double crochet (Dc) stitches and only went to round 15 following my original crocheted helmet hat pattern. I then added the ribbing rounds to complete the hat. It measures 23″ for a circumference and is 8-1/2 inches long.
As you can see you can change up the pattern’s fit and look by working in half-double (Hdc) or double crochet (Dc) stitches. And by working in stripes or all in one color of yarn. I have also included changes to crochet this hat for a child’s head size.
Have fun with the pattern and as always happy crocheting to all.
Crocheted Ribbed Hat Pattern
Finished adult ribbed hat measures: 22″ circumference by 9″ long
Finished child ribbed hat measures: 18″ circumference by 8″ long
Children size hat instructions in italic below.
Hook: H (5 mm) US sized crochet hook
Materials: 2-3 ounces Wool or Worsted Medium Weight Yarn
(2 ozs of yarn for solid color and 1 oz of contrasting yarn for stripes)
With H hook, Ch 4 and join to form ring. Hat pattern is worked in the round without turning.
Rnd 1
Adult sized hat, Ch 2, work 13 Hdc in ring. Join with Sl St to beg Ch-2. (14)
Child sized hat, Ch 2, work 11 Hdc in ring and join as above. (12)

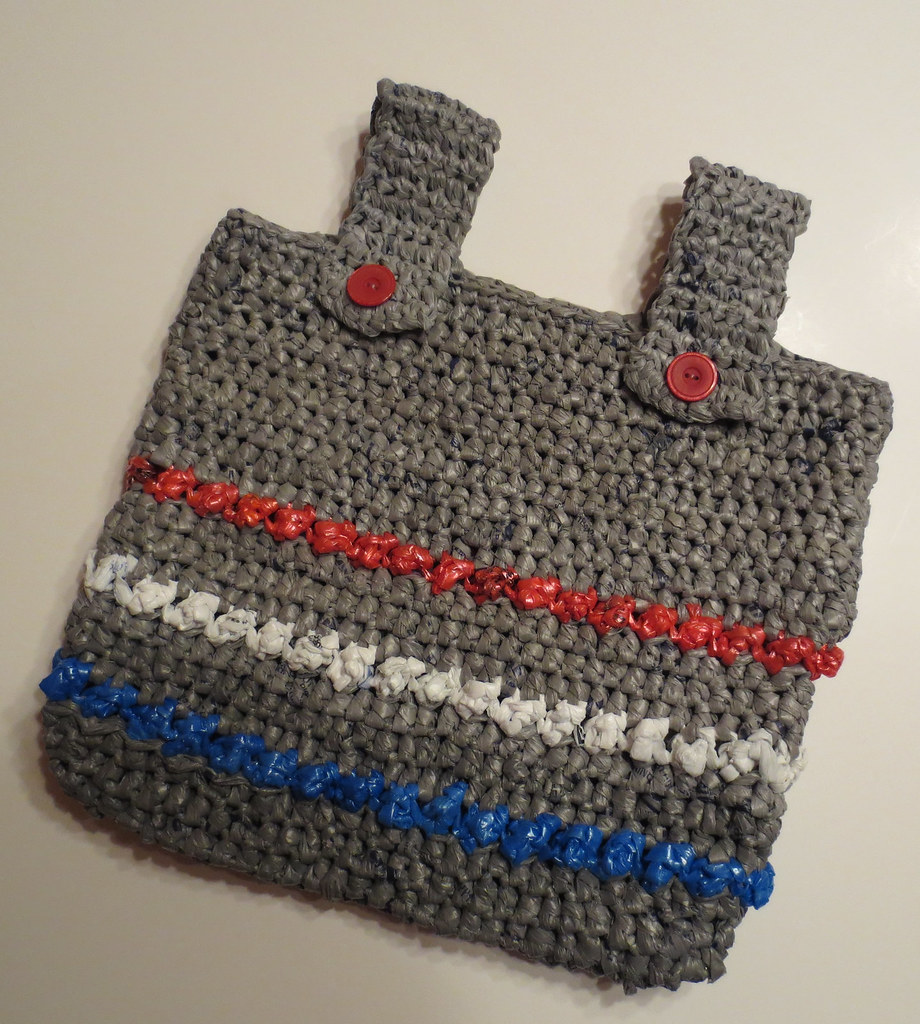
I’m excited to share my latest version of a recycled bag. It’s a wheelchair or walker tote bag. It’s crocheted mainly in grey plastic bags with puff stitch stripes in red, white and blue.
These handy little totes can be hung from a wheelchair or walker. This particular pattern calls for buttons but you can also use Velcro for the closures if you’d like.
I have crocheted many different styles of wheelchair tote bags over the years. If you are looking for a free pattern using regular worst weight yarn here is my patriotic wheelchair tote pattern. Maybe you’d like to crochet the tote bag using recycled t-shirts cut into t-shirt yarn. If so, here is my free t-shirt yarn wheelchair tote bag pattern.
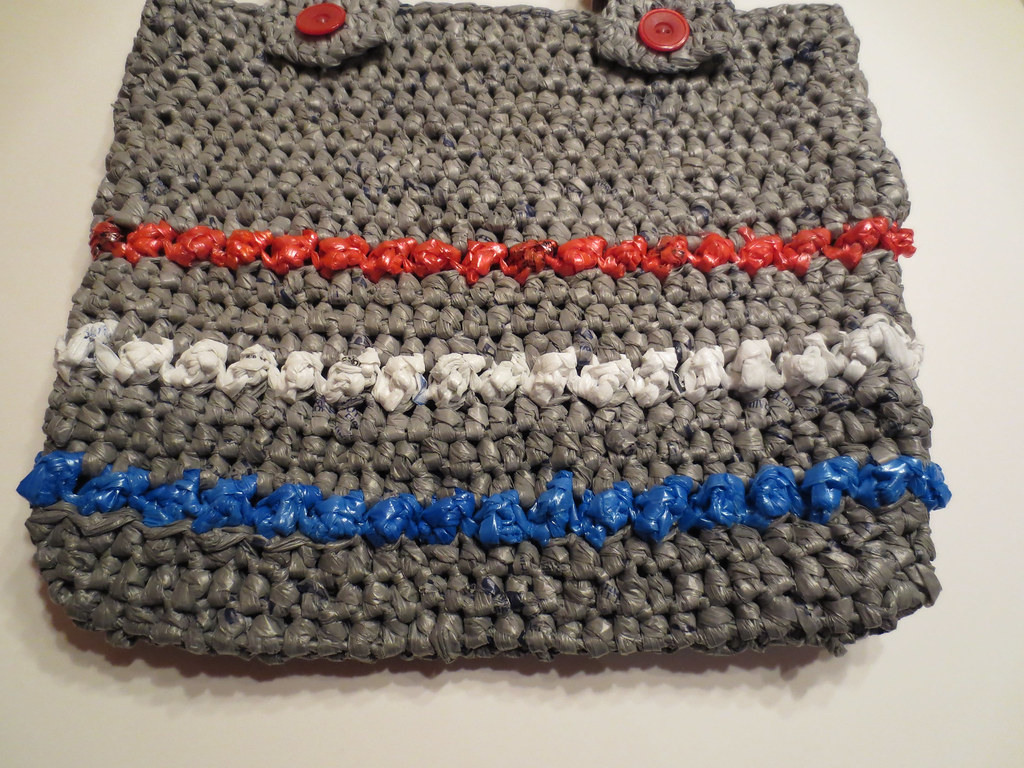
This puff stitch pattern features three stripes but you can always add more or make the tote bag longer by adding more rounds. I have several photos below that you can click on to super size them for more detail.
Puff Stitch Crocheted Wheelchair Tote Bag
Closeup of the puff stitching
Plarn Puff Stitch Wheelchair Tote Bag Pattern
Materials needed:
One large ball of plastic bag yarn Plarn in grey and small ball of
red, white and blue plarn cut 1 inch wide
2) 3/4 inch buttons
Hook:
J (6 mm) size metal crochet hook
Description: Wheelchair or Walker Tote Bag
Tote bag measures 10-1/2 inches wide and 9″ long with 6-3/4 inches long straps
Directions:
Using grey plastic bag yarn or plarn, Ch 31.
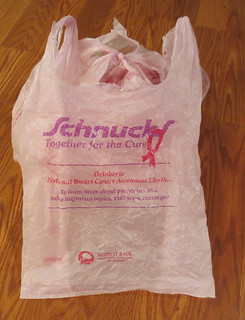
Finding pink plastic bags is very difficult. So when an on-line friend asked if I’d like some pink bags, I jumped at the chance. Cindy said her local store had been using the pretty pink plastic bags during the breast cancer awareness month last October. She saved the bags for recycling and offered them to me for crafting.
Cindy and I did a little horse trading as she needed a few old audio tape reels so I mailed her the reels and she sent me these precious pink bags.
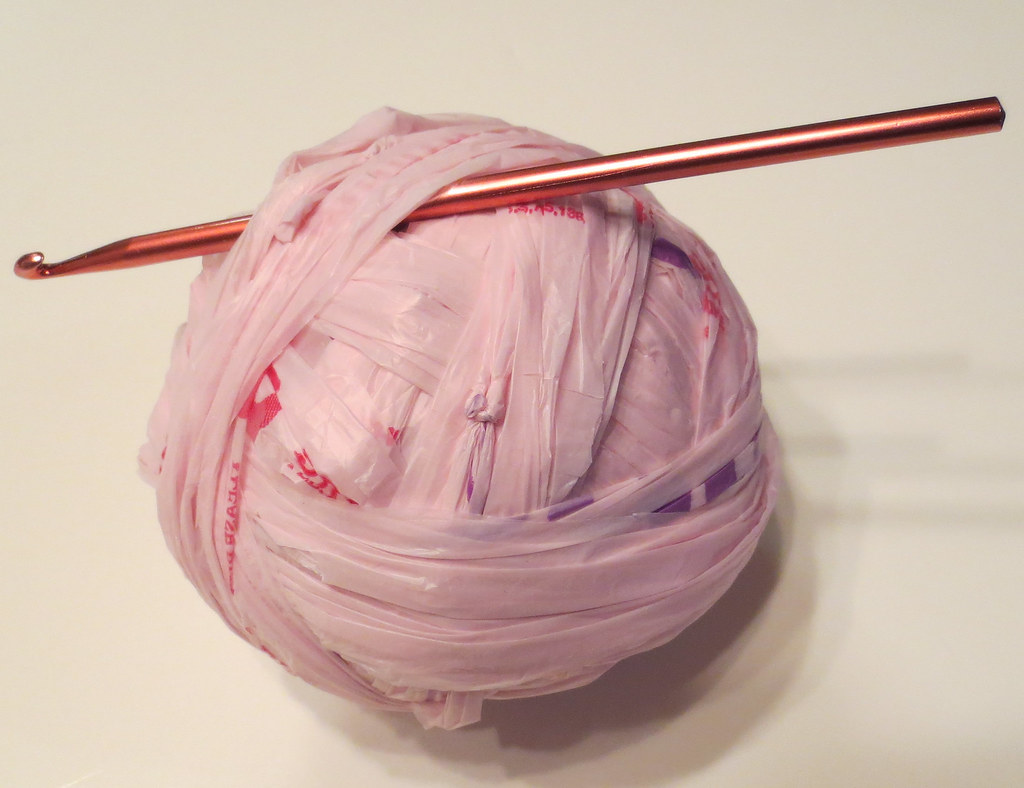
After cutting up the bags, I created this ball of pink plarn.
If you are new to crafting with recycled plastic bags, you can use my plarn making tutorial to learn how to cut and assemble plastic strips into plarn.
If you are looking for a recycled plastic yarn (plarn) project, you can find all my free plarn patterns here.

I love to create and craft with plastic bags (plarn) and other recycled materials. I love to share my ideas and post my free patterns on My Recycled Bags.com. I take pleasure in writing my craft patterns and posting my picture tutorials for everyone to use freely. I love to assist anyone who asks for help with my pattern directions or needs advice while working on a craft project.
But I despise plagiarism. Plagiarism is defined as the act of stealing somebody’s work or idea: the process of copying another person’s idea or written work and claiming it as original.
I am just amazed that someone would cut and paste one of my recycled bag patterns from my blog and claim it’s theirs. Some people must not have a conscience. Not only did a person recently copy a free crochet pattern of mine, but they profited by claiming it was their pattern and posting it on a major craft site.
This isn’t the first time someone has taken my work and claimed it was theirs. And I am sure it will not be the last time. But let me be very clear here. I maybe a small town country girl but no one steals from me and takes credit for my work. I will not tolerate the theft of my patterns and copyright infringement of blog content.
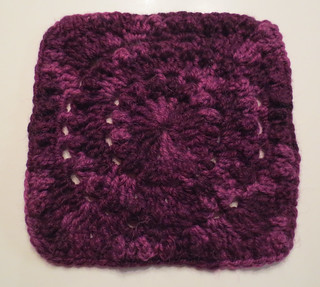
I crocheted the Circle of Friends 8 inch square and just loved the pattern. I decided to use this pretty purple square for the center of my preemie baby blanket. I’m participating again this year in the NICU Christmas baby blanket drive that Kathryn heads up each year. If you are interested, you can join us on Crochetville or through Facebook now.
After crocheting the 8 inch square in purple Berroco Ultra Alpaca yarn, I added a round using a light-colored lilac yarn by working double crochet (DC) stitches around the square. In the corner, I worked 2DC, Ch-2, 2DC in each corner space around. I worked one additional round in the purple yarn before finishing the basic portion of the blanket in the light lilac yarn. I ran short of yarn so I added the edging using a Red Heart pale plum yarn by crocheting my scalloped edging that I first used on my scalloped baby hats.
The scalloped edging was added by attaching the pale plum yarn, then working single crochet (SC) in each stitch and
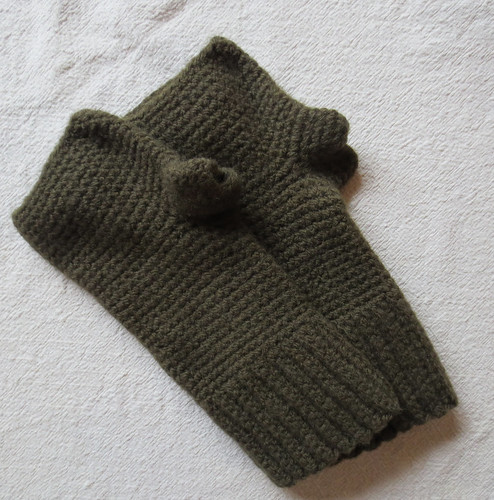
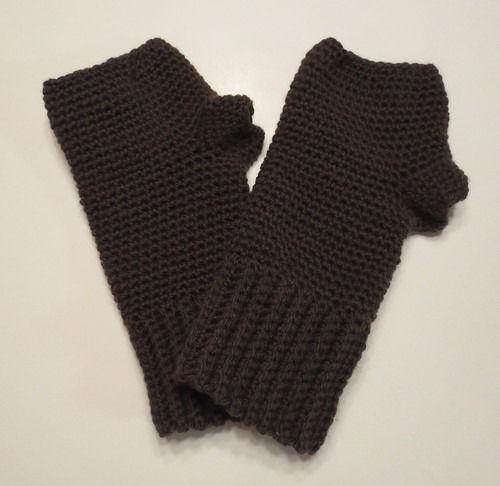
I used my simple men’s fingerless glove pattern to crochet these felted gloves. While the original pattern fits a man’s hand, these felted gloves fit a woman’s hand just fine after felting. They actually fit my hands okay before felting but now with the stitches felted, they fit even more snugly and are nice and warm.
Here are the gloves before I felted them.
I felted the gloves in a pot of hot water on my stove. I used a wooden spoon to stir them and agitated the wool to aid in the felting process. After the hot water bath, I did a cold water rinse and repeated the process one more time to complete the felting of the gloves.
So whether you just want a pair of fingerless gloves or a felted pair, try my free crochet pattern
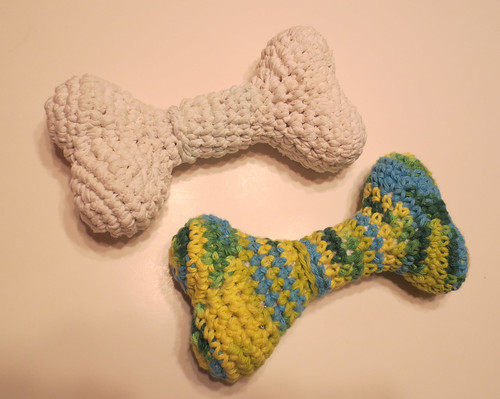
I crocheted two dog bone toys using this free dog bone toy pattern. I tried out the crochet pattern in the multi-colored cotton first. After working the pattern, I thought it would be a great project to work in recycled t-shirt yarn.
I cut my t-shirt yarn using this tarn-making tutorial. My strips were cut thin as this helps make the material easier to crochet. Using t-shirt yarn about 3/8 inches wide and then stretched, it made a dog bone just a bit bigger than the cotton yarn one.
I used an old white sock cut into strips to stuff my dog bone toys. Using the recycled materials in these projects worked well. The dog bones are soft and should bring many hours of fun for my doggie to play with. Finished t-yarn toy size is
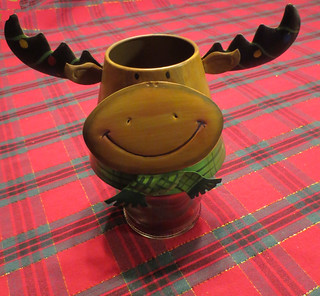
Well it’s nearly Christmas and I just wanted to share this tin moose candle holder. Isn’t he cute? Anyway I just wanted to take this time to wish everyone a very happy and safe holiday. I’m just finishing up my last crafting for the holidays and it’s time to start cooking. Oh and relaxing too.
Merry Christmas to all!



Recent Comments