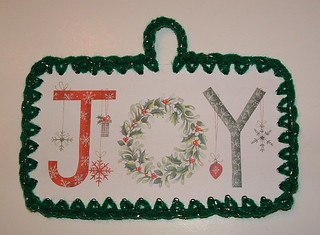
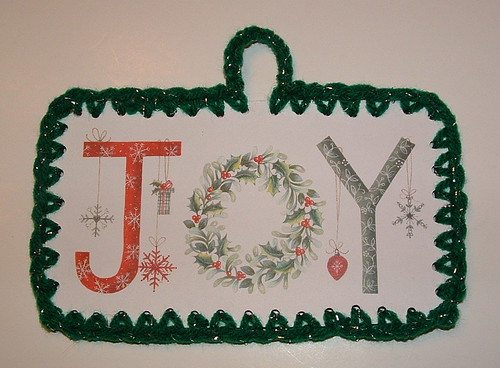
I like to save old Christmas cards to recycle them into new and useful items. In my recycled gift tag post, I cut them to create cute little gift tags that can be used on packages. This year I wanted to use the old cards to create some Christmas ornaments that I could send along to the troops overseas. I know they may not have a tree but they could hang these little ornaments on a knob in their vehicle or hang it in their living area. Maybe the small decoration would remind them of Christmas and bring them a little joy for the holidays.
Materials needed:
Old Christmas cards
Small hole punch
Scissors
Glue
Small crochet hook C (2.75 mm) works well with the small holes
Scraps of yarn (aran, ww, or even sport yarn will work)
Cut two cards to match so that you have front and backs the same size.
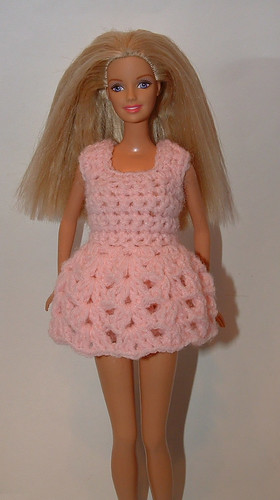
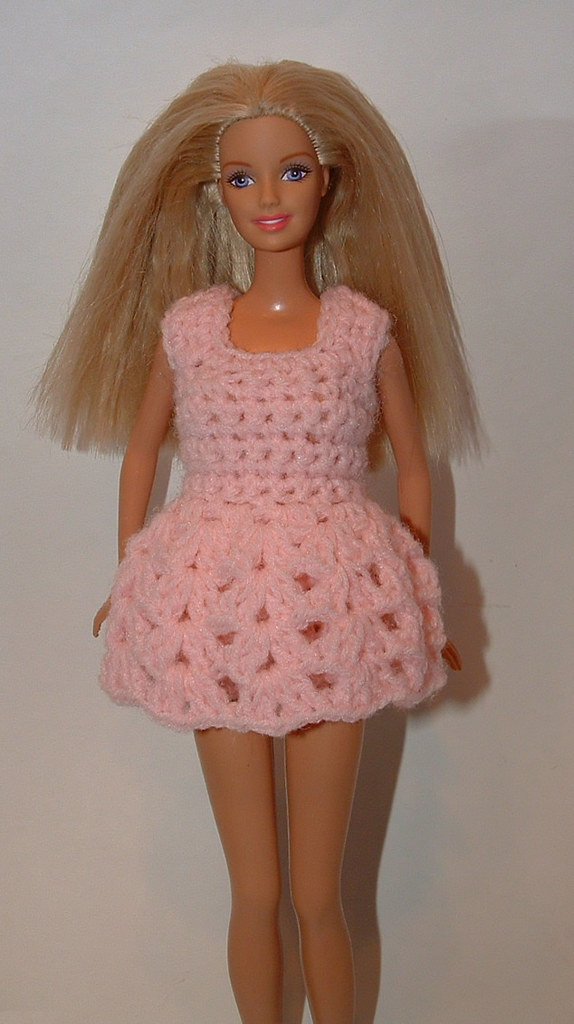
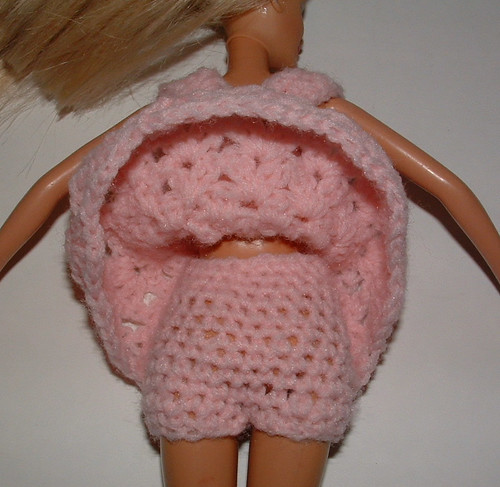
Here is a Barbie baby doll top that I crocheted. I added a pair of my Barbie bloomers to complete the set which makes cute baby doll PJs for Barbie.
This set is designed for a Barbie doll with a 3-1/2″ waist and 5-1/4″ hips. You can just crochet the baby doll top and mix and match it with a skirt or pants to create different outfits for Barbie. You could also make the top longer by repeating Row 11 to crochet a cute Barbie dress.
Enjoy the free crochet Barbie baby doll top pattern below.
**************************************************************************************************************************
Crocheted Barbie Baby Doll Top Pattern
G (4 mm) hook and F (3.5 mm) hook for edging
1 oz of fingering or light sport yarn
1 small button or snap for back closure
Ch 22 with G crochet hook.

I participated in a swap called envelope of doom over at Ravelry. The swap involves sending your partner an envelope filled with items that you don’t know what to do with or don’t need. Our group on Ravelry is a group of crafters that enjoy creating treasures from trash. So the goal with the envelope contents was to make useful things from items received. I received some pretty teal colored yarn in my envelope which I used to crochet this kitchen set.
I crocheted this scrubbie using the yarn and added some recycled lettuce netting to one side of the scrubbie.
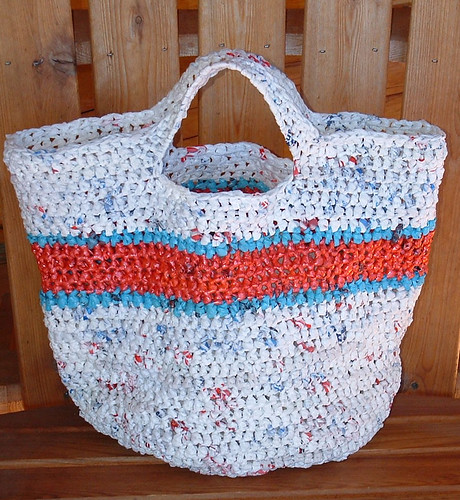
Here is my newest recycled bag. It’s a round grocery tote that I crocheted with plastic bags made into plarn yarn. I designed this recycled plastic tote to be roomy and to replace my favorite reusable grocery tote that is disintegrating. My favorite grocery tote is going to have to be retired as it’s just falling apart after years of use.
Anyway I love the big round base of this reusable tote. The stripes add a cheery look to the design. I added thick heavy handles and this grocery tote should service me for many years. I have written up the free crochet pattern below and hope you too can make yourself a useful tote bag for your trips to the market.
********************************************************************************************************************
Striped Round Grocery Tote Bag Pattern
One ball of plastic bag yarn or plarn cut 1 inch wide – Approx. 35 white plastic grocery bags,
12 pink newspaper bags and 7 blue bags cut into plarn also for the stripes.
Here is my picture tutorial link on how to make plarn yarn from the different plastic bags.
Finished Size:
18 inches wide lying flat, 12 inches tall standing with 12″ wide base and 9 inch handles
Hook: N (9 mm) size metal crochet hook
Directions:
With white plarn yarn, Ch 3 and join with a Sl St to form a ring.
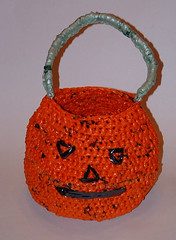
With Halloween just a few weeks away, I thought it was a good time to have a recycled project review of the different craft items that I have done over the years for Halloween.
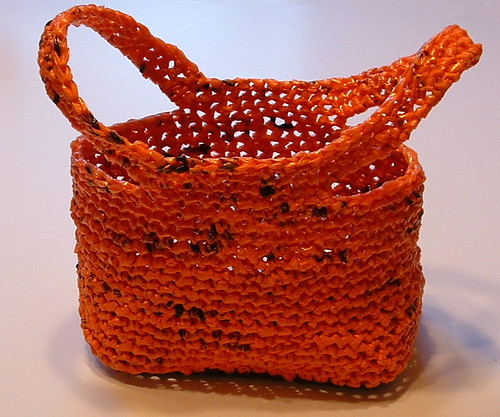
Here is a trick or treat bag I crocheted using recycled plastic orange newspaper sacks. I used a gallon milk jug bottom for the base of the inside of the pumpkin to give it a sturdy base. Here is the link to the complete plarn pumpkin trick or trick bag pattern.
This orange trick or treat bag was also crocheted using recycled orange newspaper bags. I added a microwave dinner tray
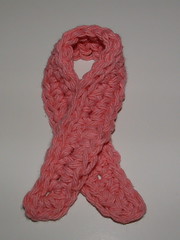
With October being breast cancer awareness month, it seems like an appropriate time to do a pink post of my own. Four years ago, my whole world was rocked when I was diagnosed with breast cancer. When you get news like that it literally takes you to your knees. I’m reminded of the song lyrics that say we’re all just a phone call away from our knees. Wow how true that is!
Four years ago after I got that phone call, I began what I later called my pink journey. You can read all my blog posts about my breast cancer journey here. Blogging and sharing my experiences through the whole cancer journey was very helpful to me. With the love and support of my family and friends, and my faith, I am happy to say I am a survivor today.
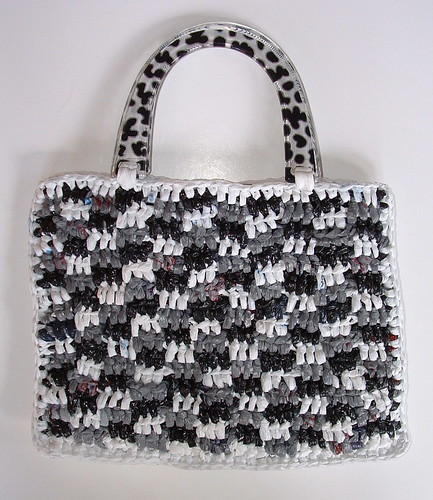
A gingham pattern is very unique when you crochet it. I decided that I would try the idea using plastic bags made into plarn. I used recycled white, grey, and black plastic bags for the project.
This idea came from Delights-Gems gingham crochet tutorial for crafting a potholder. Click on the link to see Delight’s picture tutorial that is very helpful in working the gingham pattern. I made a few changes for the plastic bag version of gingham pieces which I will outline below in the pattern details.
Gingham Plastic Bag Plarn Purse Pattern
Materials:
White, grey, and black plastic bags cut into 1 inch wide plarn. Approx. 12-15 bags of each color needed.
Here is my plastic bag picture tutorial if you need more information on how to create yarn from recycled plastic bags.
Magnetic closure
Fabric for lining 12″ by 12″
Plastic purse handles
Nylon thread and needle
Hook:
J (6 mm) US size metal crochet hook
The three colors of plarn is needed to complete this purse. I found it worked easier to assemble short strands of the colors rather than using big balls of each color. The colors don’t get tangled up if you have just short lengths of “yarn” as you leave the dropped colors attached as you work the gingham pattern.
With white plarn, Ch 34, Hdc in the 3rd st from hook and in the next two sts. (3 Hdc’s in each set as shown in original tutorial.) *Ch 3, Skip 3 sts and then Hdc in next 3 sts*.
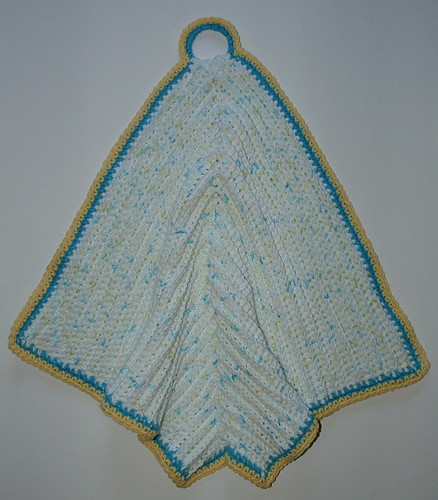
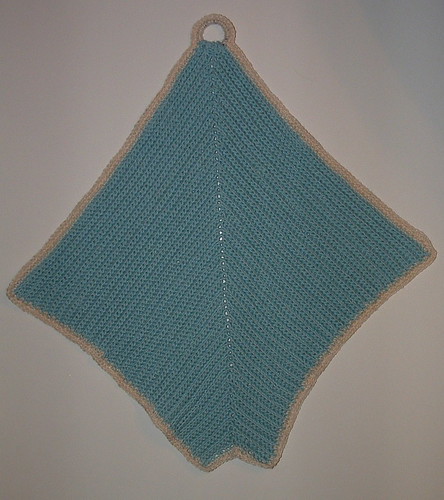
I present my diagonal cotton dish towel that I crocheted that features a ring as a hanger. I love using the round recycled rings as I can hang up my towel over any hook or knob in the kitchen. I crocheted one kitchen towel using regular weight cotton and another using sport weight cotton below.
Sport weight cotton hanging towel.
Cotton Diagonal Dish Towel Pattern
Materials needed:
3-3/4 ozs. Cotton yarn (Summer Prints used for main color)
1/2 oz. Cotton for trim in Hot Blue and Yellow
Plastic milk or juice jug ring 1-1/2 inches wide
Measurements: 17 inches long from top to bottom corner and 19 inches wide from tip to tip.
Hook:
H (5 mm) crochet hook
Directions:
Ch 28.
Row 1
Working in back loops only (BLO), Sc in 2nd ch from hook and in next 13 sts, 3 Sc in next st and then Sc in the remaining 13 sts. Ch 1, turn. (29 sts)
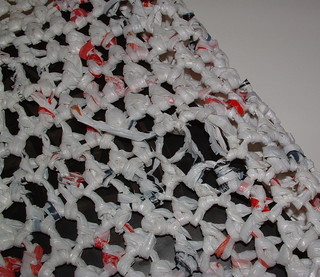
I guess it’s inevitable that all good things do come to an end. My favorite recycled plastic bag tote is disintegrating. I crocheted this plarn tote bag back in 2007 so its 5 years old now.
I use this recycled bag for groceries and produce all the time. A few months ago, the stitching started coming apart below the handle so I spliced in a strand of plarn and repaired the hole. I could see then that the existing plastic bag yarn was very brittle and starting to disintegrate.
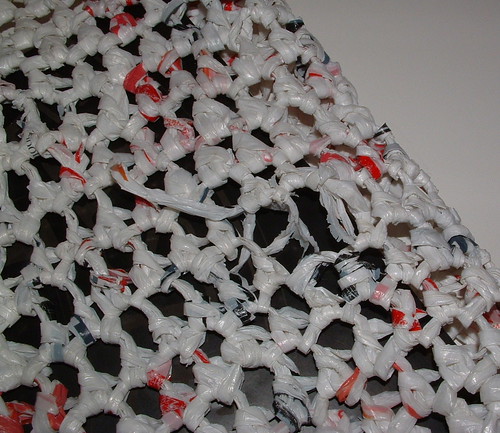
Here is the latest disintegration of my plastic bag tote. I actually found another hole after I took this photo. As you can see the ends are very brittle and when I tried to weave the ends under, they just break off.
So as my favorite recycled tote bag ends it useful life, I am crocheting a new plarn tote bag. I’m making it a bit bigger and with a strong handle. So until my new reusable tote bag is finished I will try and mend this tote bag again. It just has been my favorite recycled bag for years and it is hard to let it go. So as I type this I am preparing another repair to the holes that have appeared. A good thing is just difficult to let go of.





Recent Comments