
Here are my first two bears for the Mother Bear Project for 2017. These both were crocheted in the round without turning or chaining to start each round. I have a seamless bear tutorial here if anyone wants to learn more about how I crochet my bears.
The Mother Bear Project is an organization dedicated to providing comfort and hope to children, primarily those affected by HIV/AIDS in emerging nations, by giving them a gift of love in the form of hand-knit and crocheted bears.
Photos are shared of the children receiving the bears from time to time through the organization. I must tell you that it is just priceless when you see a bear you have made in the lovely arms of a child so far away. I just spotted this Scotty bear of mine that I crocheted in 2016 in the last photo group.

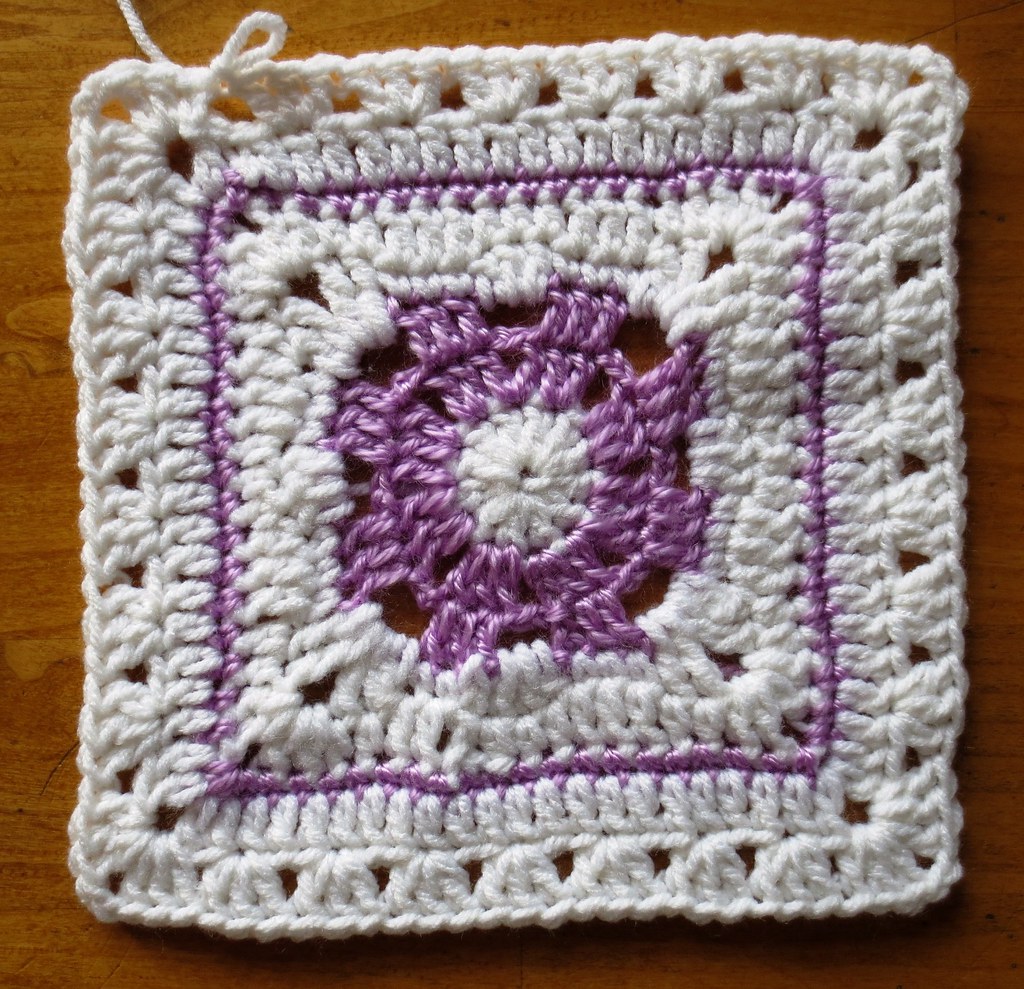
I crochet this beautiful Margaret Square. I wanted to continue and convert it over to a granny stitch square to create a baby blanket. So here is my mini tutorial on how I converted this crochet square over to a granny stitch blanket.
Using a H (5 mm) crochet hook I slipped stitch over to the corner space and chained 3. Worked 2 more double crochet (DC) in corner and then chained 2, work 3 more DC in same corner space. Then skip 2 stitches and work 3 DC in next stitch, repeat this to next corner and work 3 DC, chain 2, and 3 DC all in corner space. Repeat around and end the row with a slip stitch into the top of the beginning chain 3.
The result is now an 8 inches square which you can just continue working in the granny stitch method. To begin each new row, just slip stitch over to the corner space and chain 3. Then work 2 more DC in corner, chain 2, and 3 more DC in corner space. After that you simply need to work 3 DC in

January 24 marks my 10th year of blogging and crafting here at My Recycled Bags. When I started this blog back in 2007, I had just began crocheting with recycled plastic bags. Crafting with plastic bags which later was called plarn has because a very well known recycled craft.
My first post on January 24, 2007 started out by telling the history behind my crafting with recycled plastic bags. It featured a photo of my brown recycled handbag purse. For years now I have used this image as my avatar and it is what many people recognize as the signature image of my identity on the Internet.
I have crocheted and crafted hundreds of recycled projects over the years. I have created and shared over 100 free crochet and craft patterns on this blog. You can find all my free patterns here

This is my how-to for making a bookcover using cloth fabric. I had this nice promotional journal that I wanted to cover and give to my granddaughter. So I purchased some fabric in her favorite color and set out to make a cloth covered bookcover.
A few tips to share as I did this crafting project:
Go slow and measure your fabric several times to make sure it is cut even for each side and edges.
Fold fabric over and see how it lays before applying glue.
Glue in sections and add extra glue to secure fabric edges once you have the fabric smooth and flat.
Let glue set up before you start a new side. Remember slow is better so you don’t get your fabric wrinkled.
Put a heavy book on top after gluing so the fabric bonds nicely to the book.
Cut the fabric at the top and bottom of the book spine so just a little piece is left to glue under at the spine edge.
Here is the how-to with a picture tutorial showing the steps for making a cloth covered bookcover.

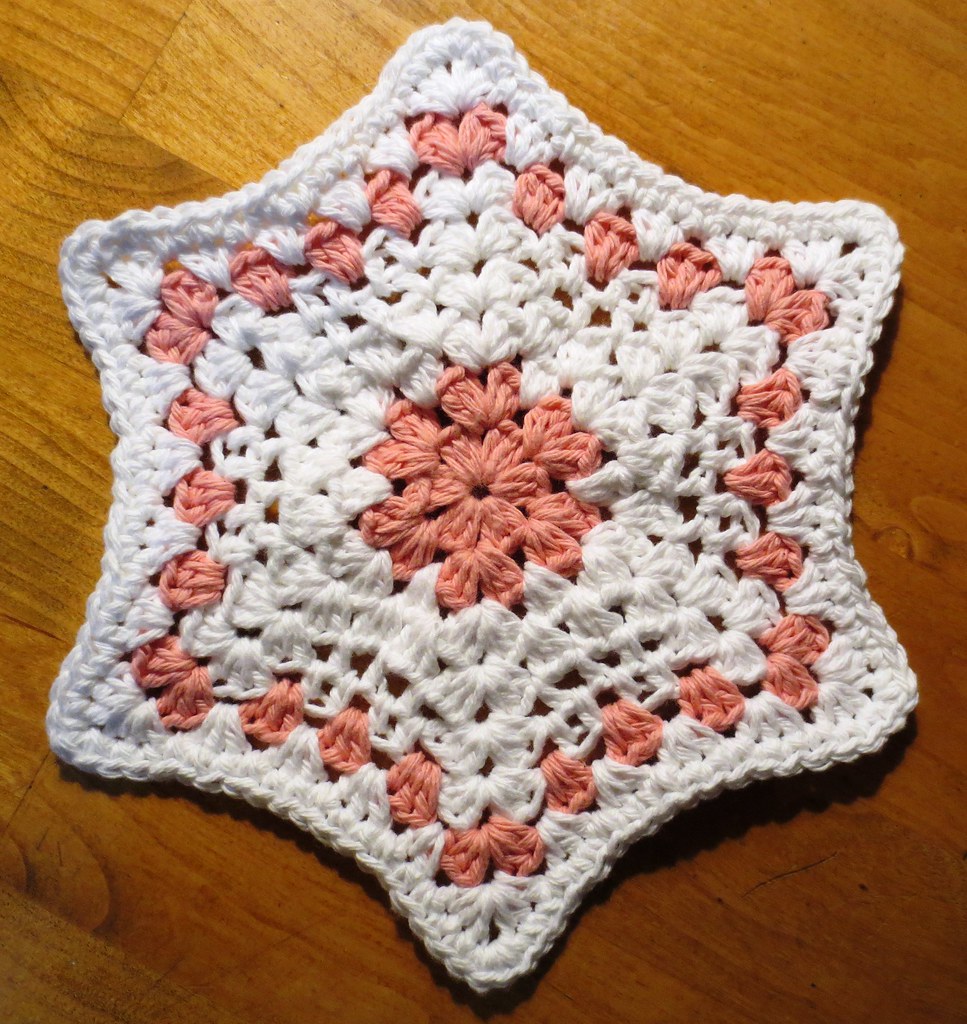
I have a new crocheted dishcloth pattern to share. I am calling it the Hexagram Star Dishcloth. Quoting Wikipedia, “A hexagram (Greek) is a six-pointed geometric star figure” which I thought was a perfect name to describe my new 6 point crocheted dishcloth.
I posted several pictures of the hexagram dishcloth below using different color schemes and cotton yarn scraps. As you can see, you can mix and match different colors to create many various looks for this crocheted dishcloth pattern.
Hexagram Star Dishcloth Pattern
Six point dishcloth measures: 10 inches at widest point
Hook: H (5 mm) US sized hook
All pattern directions in USA crochet terms.
Materials:
Sugar & Cream cotton yarn 2 ozs
Ch 5, Sl St to form ring. (You can also start with a magic circle.)
Rnd 1
Ch 2, (counts as 1 Hdc throughout) in ring work 2 Hdc, Ch 1. *3 Hdc in ring, Ch 1.* Repeat 5 times. Sl St to top of Ch 2. (6 corners)

I was thinking about my recycled craft projects and as I was recycling some old Christmas cards, I thought of a great Christmas greeting. Merry Christmas the recycled way! It sums up what I think about much of the time and a fun message this time of the year.
Here are more Christmas ornaments that I made by recycling old Christmas cards and crocheting an edging around them. For more details check out the recycled Christmas card tutorial.

Here is my trio of Christmas stockings I crocheted for the grand kids. I crocheted each one in their favorite colors and added bells to the girls’ stockings. The red one is for my 1 year old grandson so I did not put the bell on his for safety reasons.
I crocheted these stockings to 7 inches long and about 4 inches wide. I used a variation of this stocking pattern and just crocheted even on 29 stitches at the toe. I crocheted the heel and upper portion just keeping in the pattern shape with the additional stitches. I have crocheted this mini Christmas stocking so many times I can practically do it with my eyes closed. So it was easy to adapt to a bigger size. Just more stitches and more rows.

I have been working on Christmas gifts and just completed this Rooster double layered towel topper kitchen set.
The star crocheted dishcloth is my own creation which I call My Star Dishcloth pattern. It is a free pattern so check out the link.

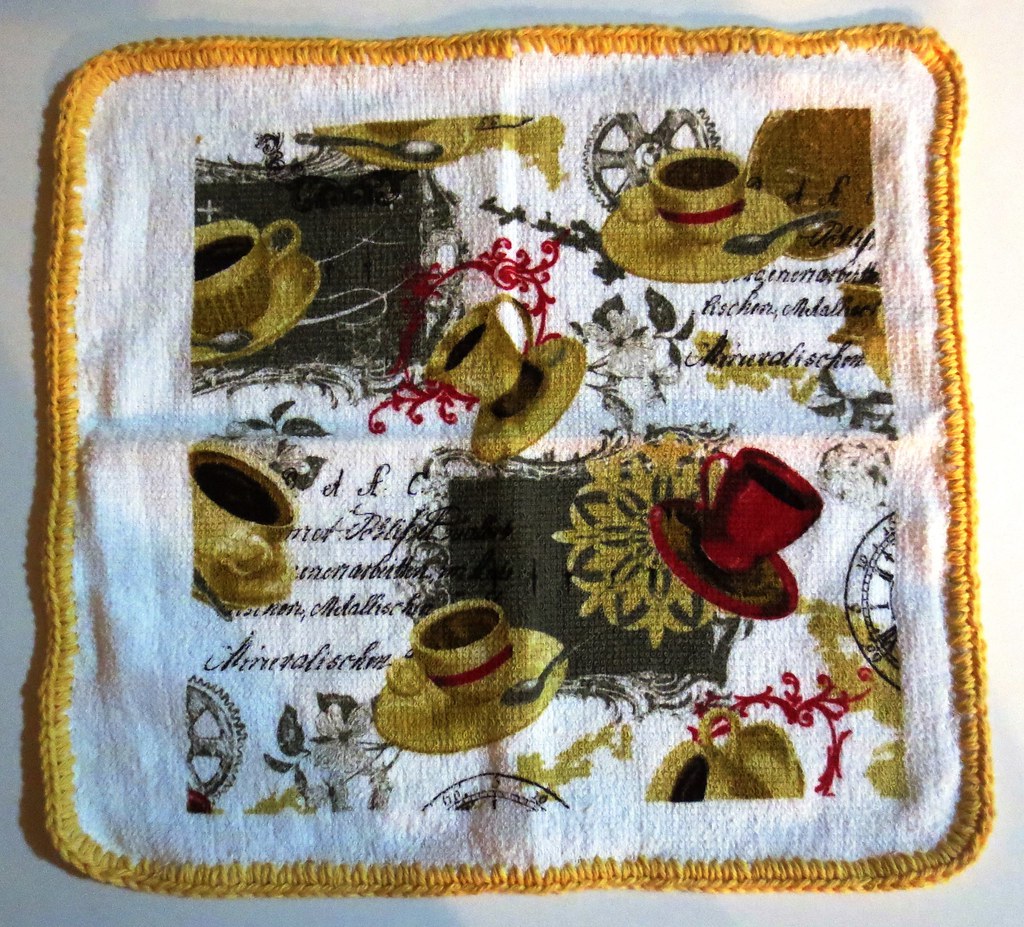
Need a quick and easy gift idea? How about crocheting around the edges of a store-bought dishcloth. Here are a few inexpensive dishcloths I bought and by adding a quick handmade edging you have a pretty little gift.
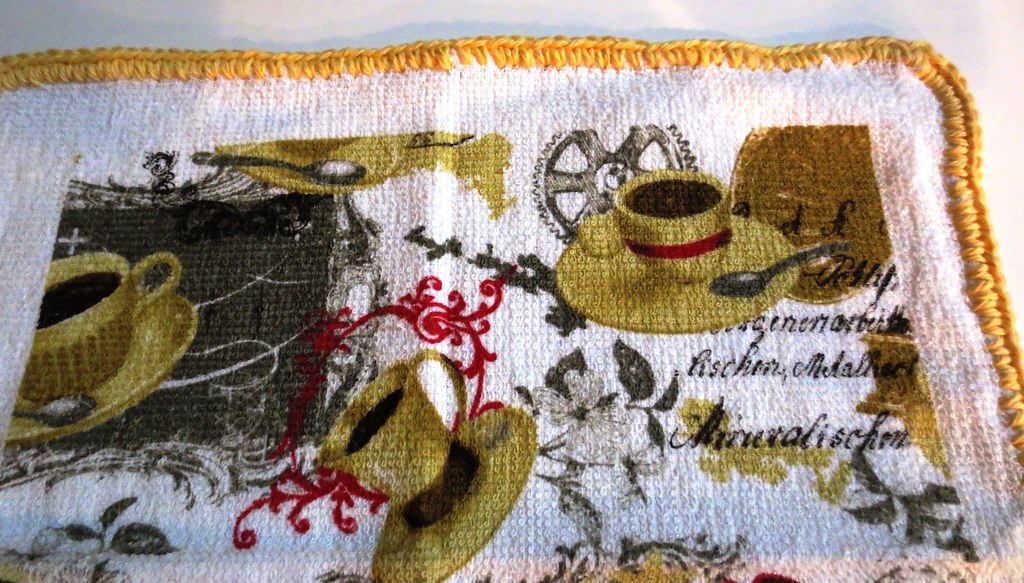
Here is a closeup showing the simple single crochet edging.
To crochet the edging around the dishcloth, I used a small C (2.75 mm) crochet hook. It easily goes through the thin dishcloth and just attach at any corner.


Recent Comments